Table of Contents
Introduction to CCTV Camera
CCTV cameras, also known as closed-circuit television cameras are used for surveillance purposes and can be found in a variety of settings such as businesses, homes and public spaces. Cameras transmit video
footage to a device rather than being broadcast to the public, hence the term “closed-circuit.” CCTV cameras
can provide a sense of security and can be used to monitor activity, deter crime, and even assist in
investigations. With advances in technology, CCTV cameras have become more affordable and easier to install, making them accessible to a wider range of users.
In this blog post, we will provide a step-by-step guide on how to install a CCTV camera, as well as tips and troubleshooting for a successful installation.
You can also get help from the technical team of aisecurity.pk and get the best CCTV Camera Installation Price in Pakistan
Things You Need TO Install CCTV Camera
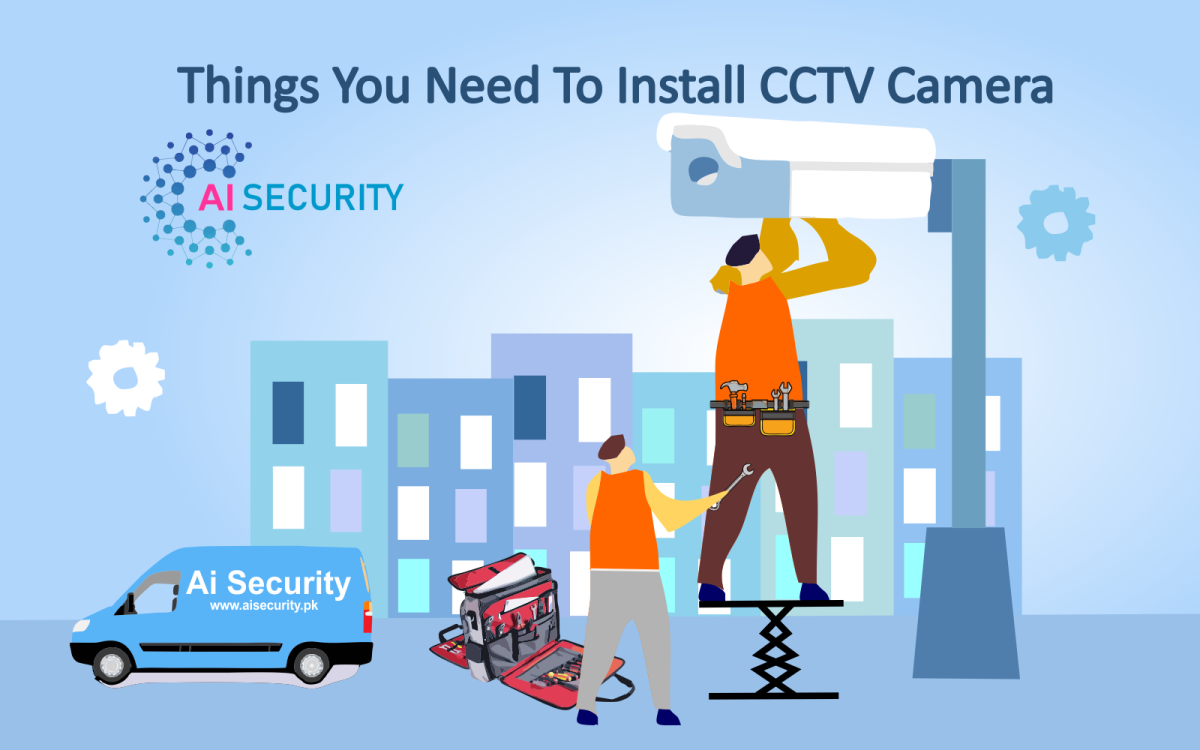
Before you begin installing your CCTV camera, it’s important to gather all the necessary materials and equipment. Here is a list of things you will need:
CCTV Cameras:
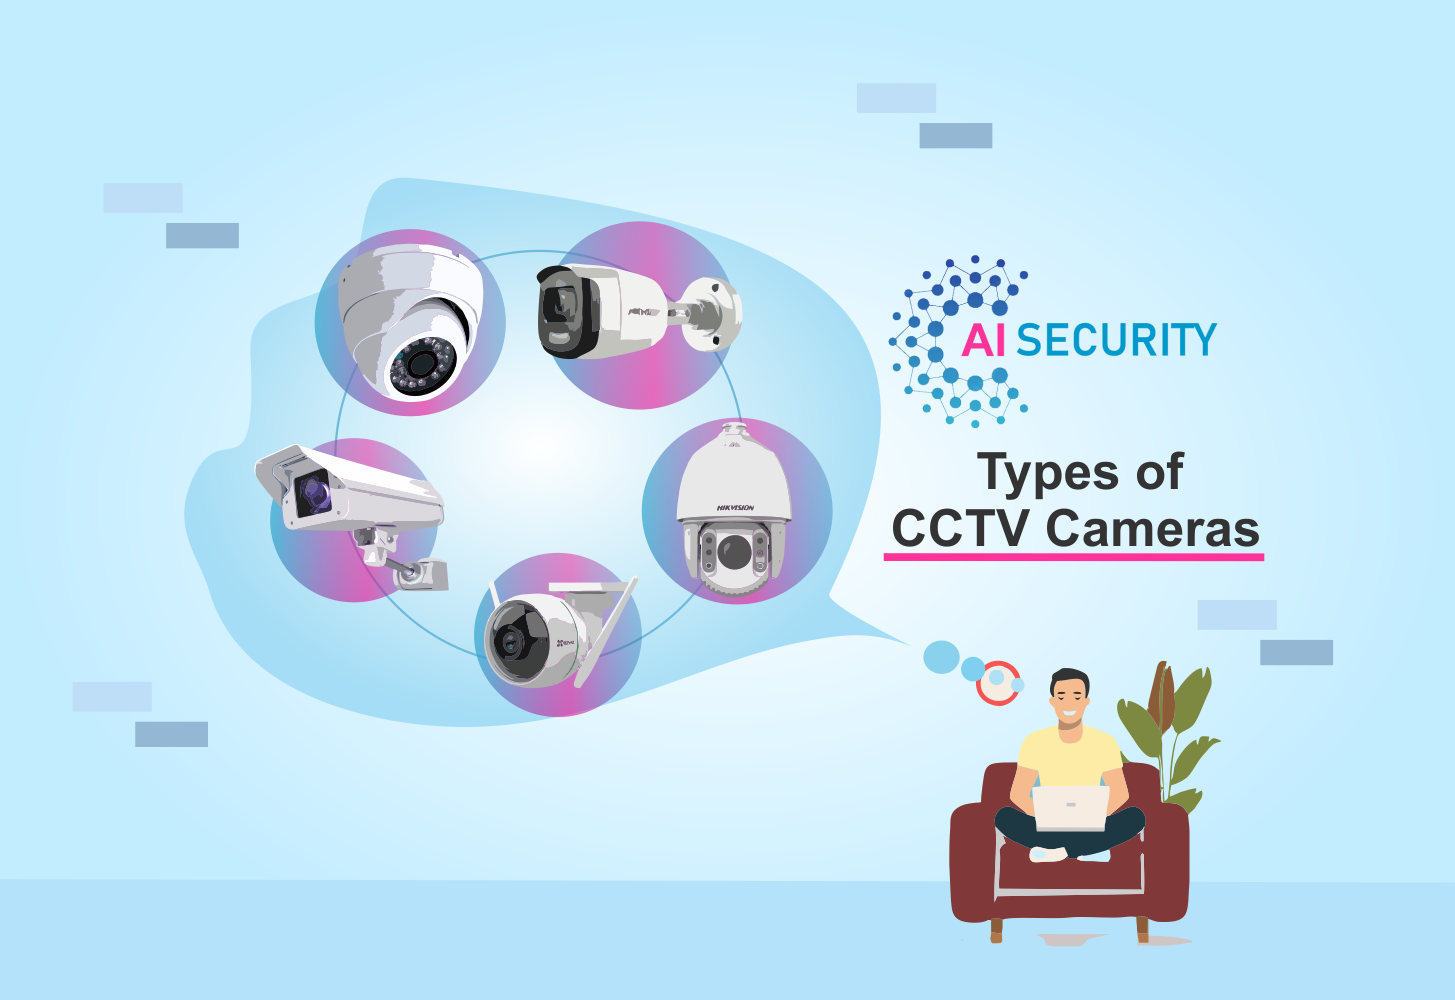
Make sure to choose a camera that is suitable for your needs and the location where it will be installed. Consider factors such as the camera’s resolution, the field of view, and whether it is suitable for indoor or outdoor use.
Mounting Hardware:
Mounting hardware is the most important thing while installing a CCTV camera system. It includes screws, anchors, and possibly a mounting bracket, depending on the type of camera and surface it will be installed.
Power Source:
Your CCTV camera will need a power source, either through a direct electrical connection or via a battery.
Video cables:
These will be used to connect the camera to the monitoring or recording device. The type of cable you will need will depend on the camera and the distance it needs to be run.
Monitoring and Recording Device:
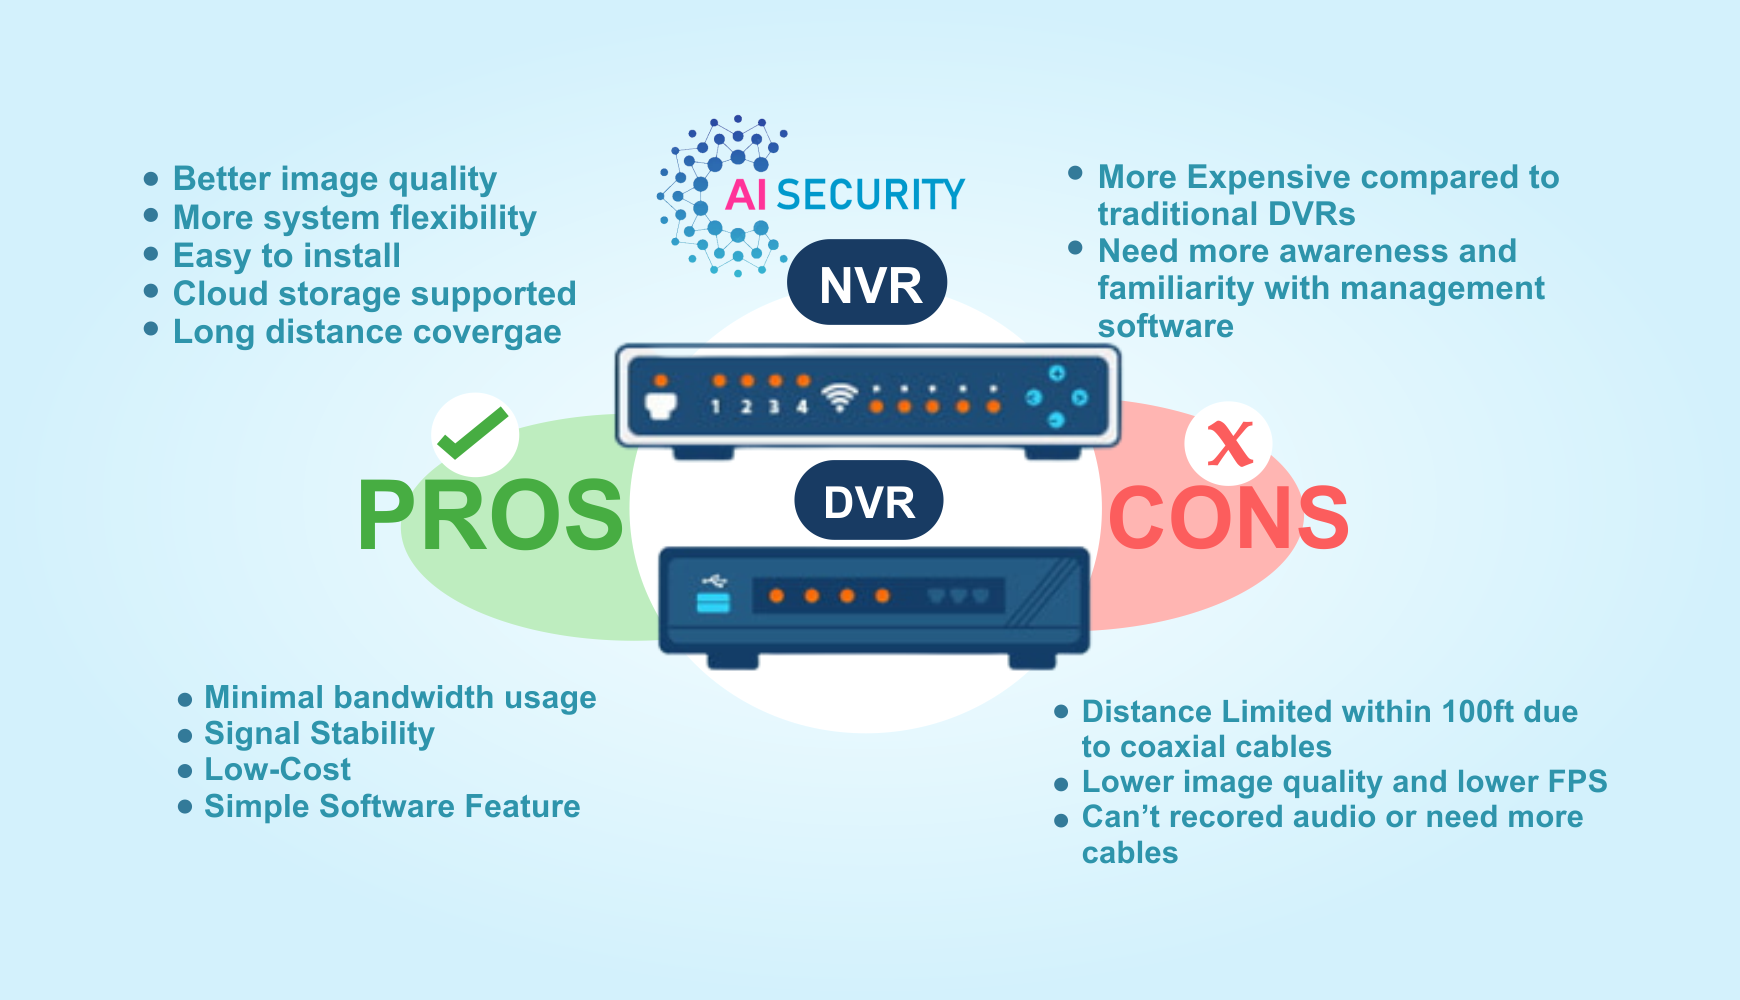
This could be a TV, computer and DVR (digital video recorder), or NVR (network video recorder).
Tools:
You will need basic tools such as a drill, screwdriver, wire stripper, and possibly a ladder, depending on the installation location.
Optional Elements:
If you are installing the camera outdoors, you may need additional protective casing or housing to protect it from the elements. You may also want to consider purchasing a surge protector to protect your camera and other equipment from power surges.
A Step-By-Step Guide To Installing a CCTV Camera
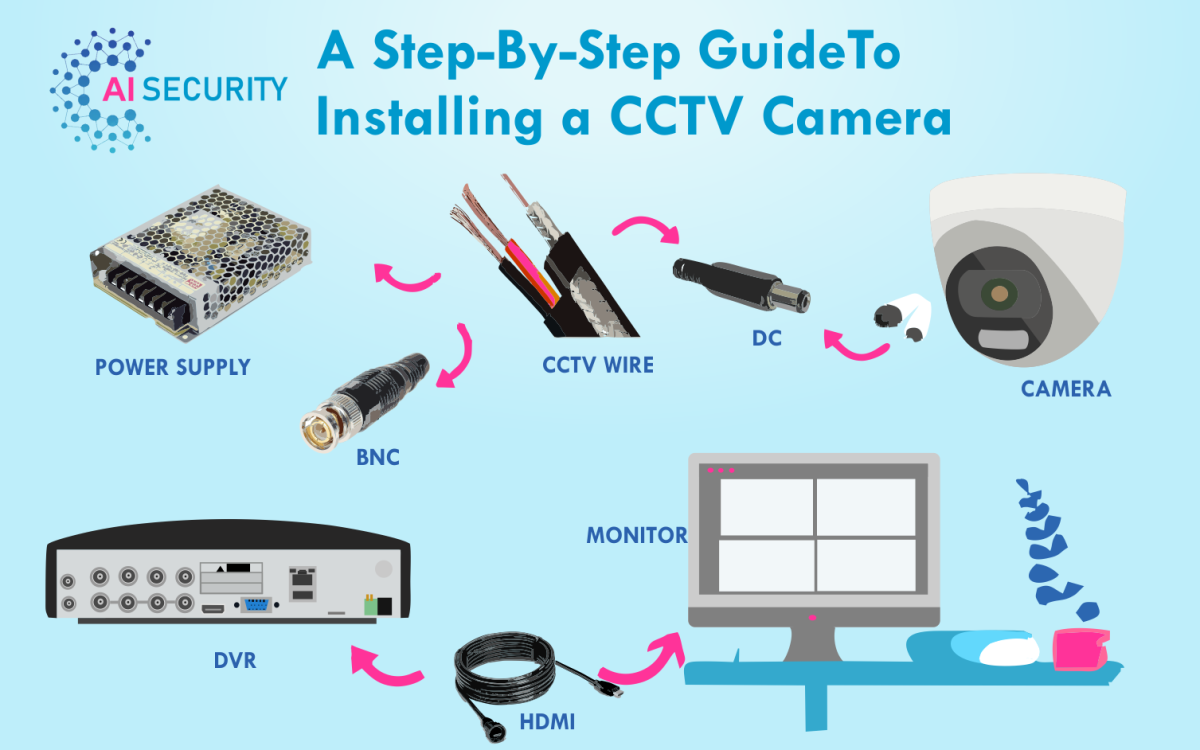
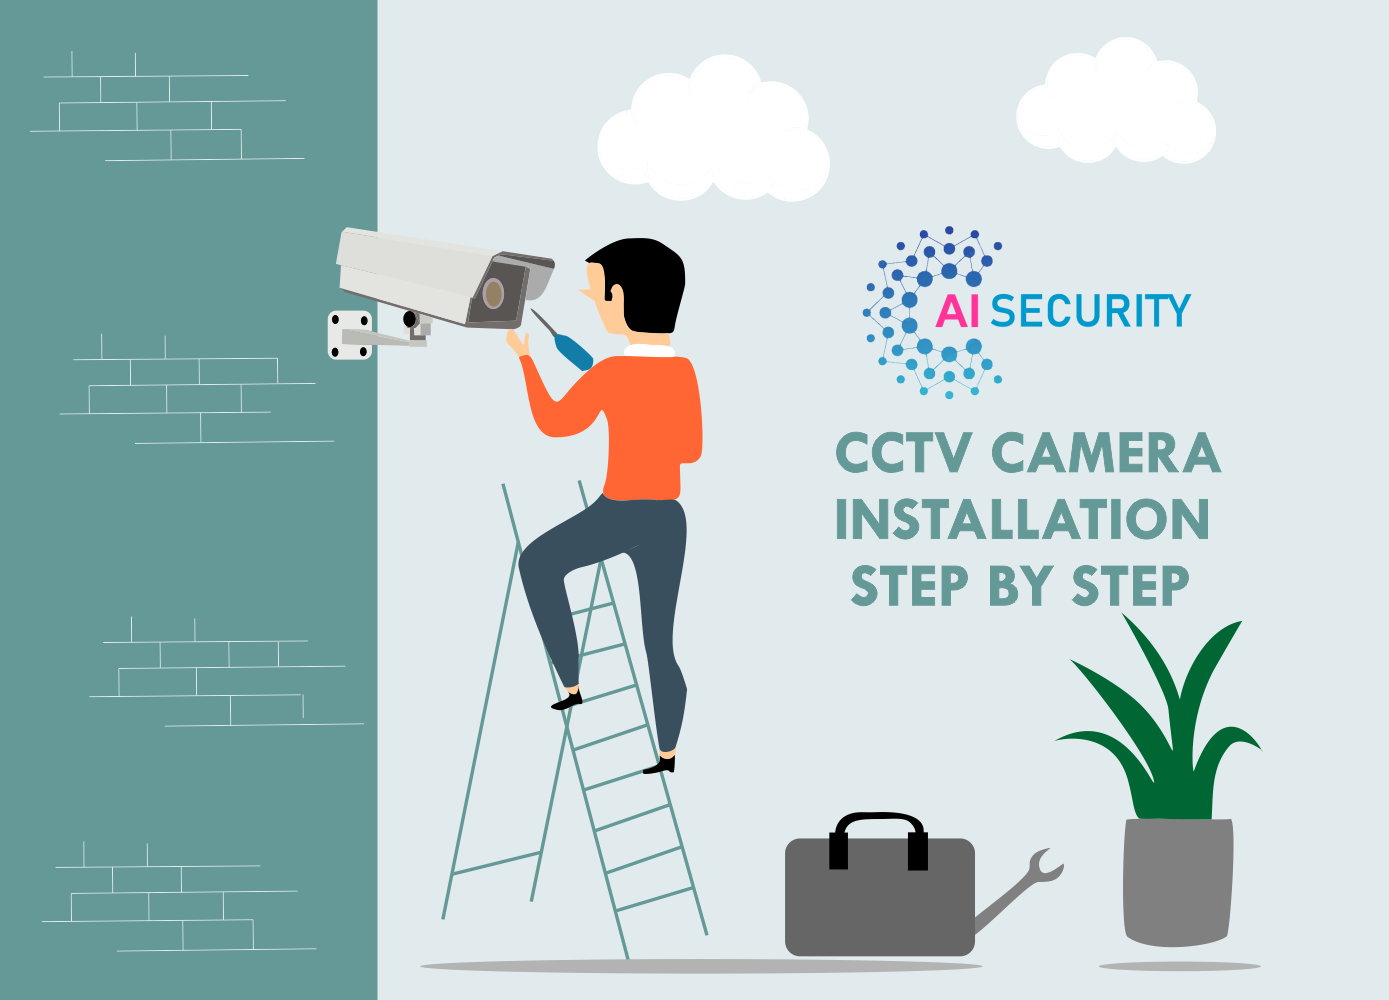
Installing a CCTV camera can seem intimidating at first, but with the right tools and a little bit of know-how, it can be a relatively straightforward process. Here is a step-by-step guide to help you through the process:
1. Survey:
The first step of CCTV Camera Installation is a survey. A survey is a process in which you decide where you want to install your CCTV camera and make sure it has a clear line of sight to the area you want to monitor. Consider factors such as lighting, weather, and the camera’s field of view.
Surveying and installing a CCTV camera is an important step in the installation process, as it helps to ensure that the camera is placed in the optimal location for surveillance.
Here are some key considerations to keep in mind when surveying and installing a CCTV camera:
Field of View:
Determine the areas that you want the camera to cover, and look for a location that provides a good field of view of those areas. This might involve considering factors such as the camera’s angle of view, the height of the camera, and any potential obstructions.
Lighting:
Consider the lighting conditions in the area where the camera will be installed. Is there enough light for the camera to capture clear images, or will additional lighting be necessary?
Power and Data:
Identify the location of the nearest power outlet and data connection, as these will be needed to power and operate the camera.
Security:
Look for a location that is secure and will not be easily tampered with or vandalized.
By conducting a thorough survey before installing a CCTV camera, you can ensure that the camera is placed in the best possible location for effective surveillance.
2. Cable Laying:
Cable laying is the process of installing the cables that will connect a CCTV camera to a monitoring or recording system. This is a crucial step in the installation of a CCTV camera as the quality and reliability of the camera’s connection will depend on the proper installation of the cables.
There are a few key considerations to keep in mind when cable lying for a CCTV camera:
Route Selection:
Choose a route for the cables that are out of sight and will not be disturbed by people or objects. This might mean running the cables through walls, under floors, or along the tops of ceilings.
Cable Type:
Select the appropriate type of cable for the installation. CCTV cameras typically use coaxial cable or twisted pair cable. Coaxial cable is typically used for longer runs, while twisted pair cable is better for shorter runs and installations with a lot of interference.
Cable Length:
Make sure to use cables that are long enough to reach from the camera to the monitoring or recording system. It is generally a good idea to have a little extra length in case the exact placement of the camera or the monitoring system changes during installation.
Cable Management:
Properly manage the cables to keep them organized and protected. This might include using cable ties or cable trays to keep the cables in place and prevent damage.
3. Mount Cameras:
Mounting cameras is an important step in the process of installing a CCTV camera system. Properly mounting the cameras will ensure that they are stable and secure, and will provide the best possible field of view for surveillance.
Here are some tips for mounting cameras while installing a CCTV camera system:
Choose the Right Mounting Location:
Select a location for the camera that provides a good field of view of the area you want to monitor, and that is out of reach of potential vandals.
Use the Appropriate Hardware:
Use the hardware provided with the camera or use appropriate screws and anchors to mount the camera securely.
Adjust the Angle of the Camera:
Adjust the angle of the camera to ensure that it is pointed in the right direction and provides the desired field of view.
Test the Camera:
After mounting the camera, test it to make sure it is functioning properly and providing a clear image.
By following these steps, you can ensure that your CCTV cameras are properly mounted and will provide effective surveillance.
4. Mount Waterproof Box:
Next process of installing a CCTV camera outdoor is mounting waterproof box, it is important to protect the connectors that connect the camera to the monitoring or recording system. A waterproof box, also known as a weatherproof enclosure, can be used to protect these connectors from the elements ensuring that the camera can operate reliably in all weather conditions.
Here are some tips for mounting a waterproof box for connectors in CCTV camera installation:
Choose the Right Location:
Select a location for the waterproof box that is easily accessible for maintenance, but out of reach of potential thievery.
Use the Appropriate Hardware:
Use the hardware provided with the waterproof box or use appropriate screws and anchors to mount the box securely.
Install the Connectors:
Follow the manufacturer’s instructions to install the connectors in the waterproof box. Make sure to properly seal all connections to prevent water from entering the box.
- Test the Connections: After installing the connectors in the waterproof box, test the connections to make sure they are functioning properly.
By following these steps, you can ensure that the connectors for your outdoor CCTV camera are properly installed in a waterproof box and protected from the elements.
5. Place DVR or NVR:
In a CCTV camera system, the DVR (Digital Video Recorder) or NVR (Network Video Recorder) is a key component that is responsible for capturing, storing, and managing video footage from the cameras. Proper placement of the DVR or NVR is important to ensure that it can function effectively and efficiently.
Below are some tips for placing the DVR or NVR in a CCTV camera installation:
Choose a Secure Location:
Select a location for the DVR or NVR, that is secure and out of reach of potential vandals. It is also important to consider the accessibility of the DVR or NVR for maintenance and updates.
Consider Heat and Ventilation:
The DVR or NVR generates heat as it operates, so it is important to choose a location that has sufficient ventilation to dissipate this heat. Avoid placing the DVR or NVR in a location that is prone to high temperatures or direct sunlight.
- Consider Cable Lengths: Make sure that the DVR or NVR is located within a reasonable distance of the cameras and the monitoring or recording system. This will minimize the length of the cables that are needed, which can help to reduce signal degradation and interference.
- Install the DVR or NVR: Follow the manufacturer’s instructions to install the DVR or NVR in the chosen location. Make sure to properly secure the DVR or NVR and any cables to prevent tampering or damage.
By following these steps, you can ensure that the DVR or NVR in your CCTV camera system is properly installed and positioned for optimal performance.
6. Connect Power Source:
Depending on your cameras, you will either need to plug it into an electrical outlet or attach a battery.
Electricity is the main power source for CCTV cameras and you can add some batteries as backup. Make sure connection should be properly done.
7. Connect Video Cables:
Once the power source has been connected to a CCTV camera, the next step in the installation process is to connect the video cables. There are several options for connecting the video cables, including using coaxial cables, twisted pair cables, or HDMI (High-Definition Multimedia Interface) cables.
Here is a general overview of how to connect video cables in a CCTV camera installation:
- Determine the type of video cables you will be using. Coaxial cables are the most common type of video cable used in CCTV camera installations. They are thick and sturdy and provide a high-quality video signal. Twisted pair cables and HDMI cables are also options but they are not as common.
- Connect one end of the video cable to the video output port on the camera. The connector on the end of the video cable will fit into the port on the camera.
- Locate the video input port on the device where the video signal will be displayed (e.g., a monitor, DVR (Digital Video Recorder), or TV). This is typically a small, circular port labelled “Video In” or “BNC.”
- Connect the other end of the video cable to the video input port on the display device. The connector on the end of the video cable will fit into the port on the display device.
- Test the video connection by turning on the camera and the display device and checking for a clear, stable video signal.
It is important to follow the manufacturer’s instructions when connecting the video cables in a CCTV camera installation. If you are not comfortable with this task, it is recommended to hire a professional to install the camera.
8. LCD PLCEMENT:
Next step is to place LCD or any other display device to view the footage of CCTV cameras.
To install an LCD display for a CCTV system, the following steps should be followed:
- Determine the location where the display will be installed. It should be placed in a central location where it can be easily accessed and viewed by the user.
- Install the mounting bracket for the display. This will usually involve attaching the bracket to the wall or ceiling using screws or bolts.
- Connect the power cord of the display to an electrical outlet.
- Connect the display to the CCTV system using a video cable. This can be done using an HDMI cable, VGA cable, or a composite video cable, depending on the type of connection available on the display and the CCTV system.
- Turn on the display and the CCTV system. The footage captured by the cameras should now be displayed on the screen.
- Adjust the settings of the display, such as the brightness and contrast, to ensure that the images are clear and easy to see.
9. Test Cameras:
Once everything is set up, test the camera to make sure it is functioning properly. Check the video footage to ensure the camera has a clear view and the image is clear. Check all the camera footage to make sure every camera is working properly.
10. Setting Video Surveillance Software App:
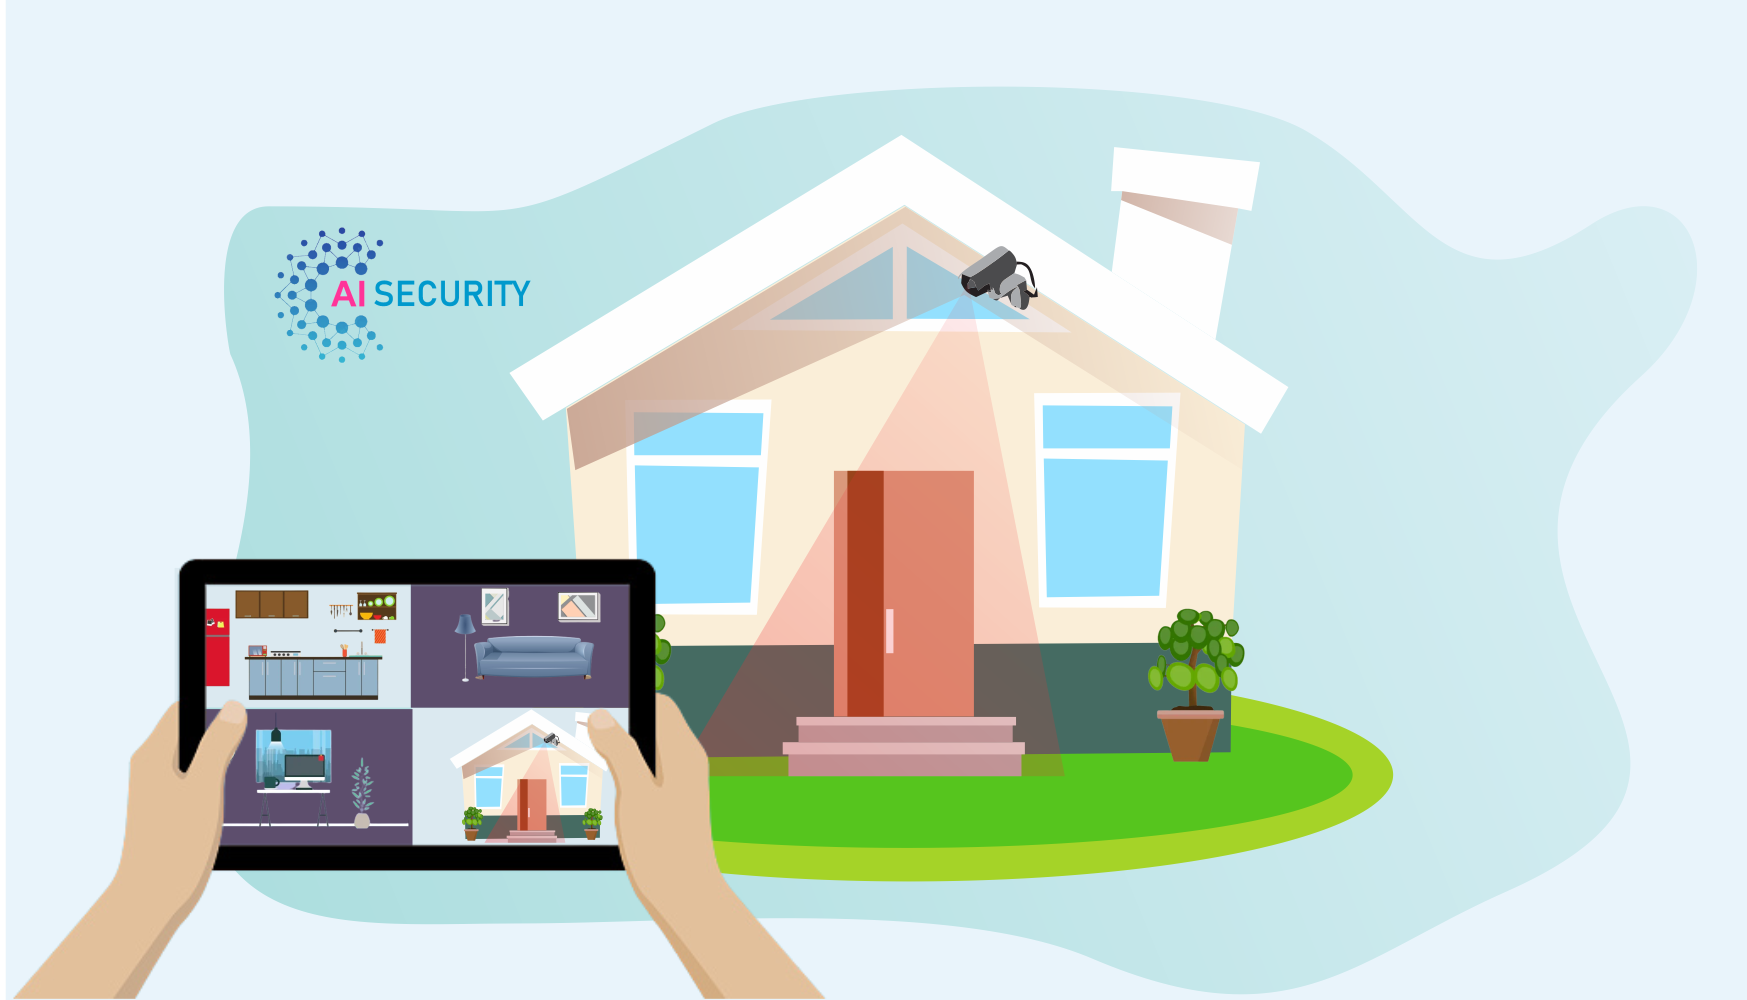
Video surveillance software is an application that allows users to view, store, and analyze the video footage remotely which is captured by the cameras in a CCTV system. It can be installed on a computer or other device and accessed remotely through a web browser or a mobile app.
To set up a video surveillance software app in a CCTV camera installation, the following steps should be followed:
- Determine the type of software that is compatible with the CCTV system. There are many different video surveillance software options available and it is important to choose one that is compatible with the cameras and other hardware components of the system.
- Install the software on a computer or other device that will be used to access the footage. This may involve downloading and installing the software from the manufacturer’s website or purchasing a physical copy of the software and installing it from a DVD or other media.
- Configure the software to connect to the CCTV system. This may involve entering the IP addresses or other identifying information for the cameras in the system.
- Set up user accounts and permissions for the software. This will allow different users to access the footage and control the system, as needed.
- Test the software to ensure that it is functioning properly and that the footage from the cameras can be viewed and controlled as desired.
11. Finalize Installation:
Once you have successfully installed all of your CCTV cameras and all other equipment, you can fine-tune the settings and customize any additional features, such as motion detection or alerts.
Tips For a Successful CCTV Camera Installing
Installing CCTV cameras can be a rewarding experience, but it’s important to take the time to properly plan and execute the installation to ensure it is successful. Here are a few tips to help you along the way:
Follow The Manufacturer’s Instructions:
Each CCTV camera is different, so it’s important to carefully read the manufacturer’s instructions and follow them step by step.
Choose The Right Location:
Make sure the camera has a clear line of sight to the area you want to monitor and that it is positioned in a way that is not easily obstructed.
Use the Right Tools and Equipment:
Gather all the necessary tools and equipment before you begin the installation and make sure you have the right type of mounting hardware for the surface you will be attaching the camera.
Protect Your Cables:
If you are running the video cables a significant distance make sure they are properly secured and protected to prevent damage.
Test the Cameras:
After the installation is complete, make sure to test the camera to ensure it is functioning properly and has a clear view of the area you want to monitor.
Customize Your Settings:
Once the camera is up and running, take some time to customize any additional features, such as motion detection or alerts, to suit your needs.
Maintain Your Camera System:
Regularly check and clean the camera to ensure it is functioning properly and follow the manufacturer’s recommendations for maintenance and up keep.
Trouble Shooting Common Issues During CCTV Camera Installing
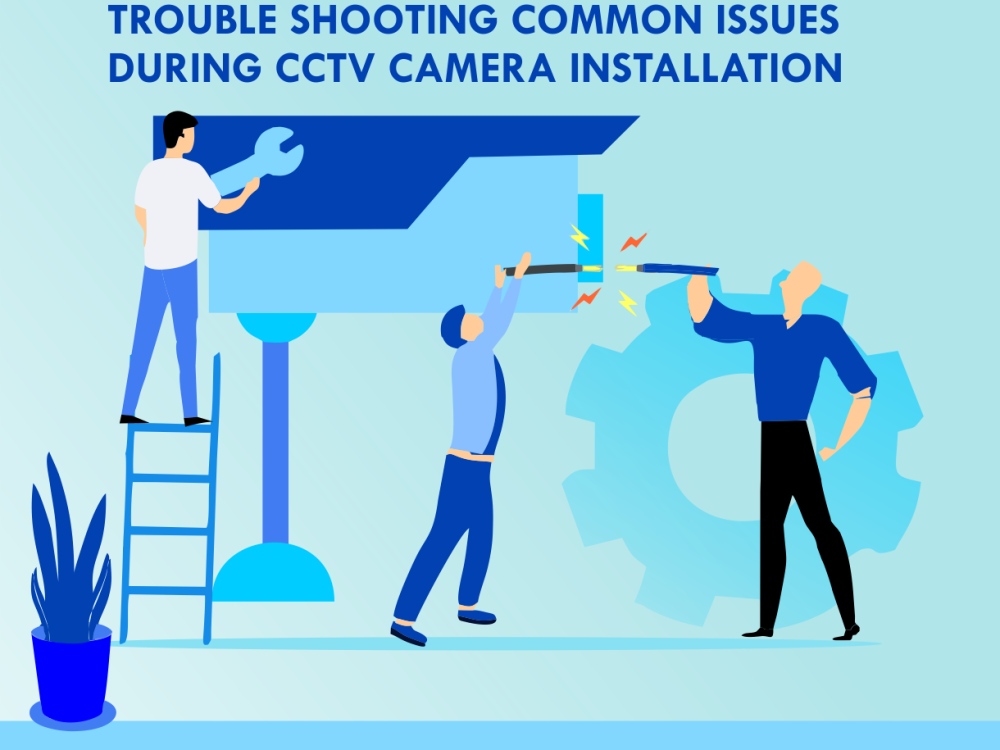
While installing CCTV cameras can be a relatively straightforward process, there are a few common issues that may arise.
Here are some troubleshooting tips to help you resolve these issues:
Camera not powering on:
Make sure the camera is properly connected to a power source and that the power source is working. Check the manufacturer’s instructions to ensure you are using the correct power adapter.
Camera not connecting to the monitoring or recording device:
Make sure the video cable is securely connected to both the camera and the device and check that the device is properly set up and turned on.
Poor image quality:
If the image is blurry or distorted try adjusting the camera’s focus or zoom settings. If the issue persists, there may be an issue with the camera or the video cable.
Camera not staying connected:
If the camera keeps disconnecting or freezing, there may be an issue with the power source or the video cable. Check both of these to ensure they are functioning properly.
Camera not detecting motion:
If you have set up motion detection but the camera is not detecting any movement, try adjusting the sensitivity settings. If the issue persists, there may be an issue with the camera or the monitoring or recording device.
If you are unable to resolve the issue on your own, consider contacting the manufacturer or a professional for assistance.
Final Thoughts On Installing CCTV Camera
CCTV cameras can provide an extra layer of security and peace of mind whether you are using them for your home or business. While the installation process may seem daunting at first, with the right tools and a little bit of know-how, it can be a relatively straightforward process. By following a step-by-step guide and taking
the time to properly plan and execute the installation, you can ensure that your CCTV cameras are set up and functioning properly. Don’t forget to customize the settings to suit your needs and regularly maintain and clean your cameras to ensure they are functioning optimally.
Ai Security offers cost effective CCTV Camera Packages with free installation and maintenance. Our team of experts will do all the pre installation planning and post installation service to make CCTV Camera Installation. You can contact us to get the best CCTV camera Package and the lowest CCTV Camera price in Pakistan. Our Support team is available 24/7 to help you with any query. You can send your question via email, live chat or visit our office.

